March 14, 2018 by

Make amazing landscapes

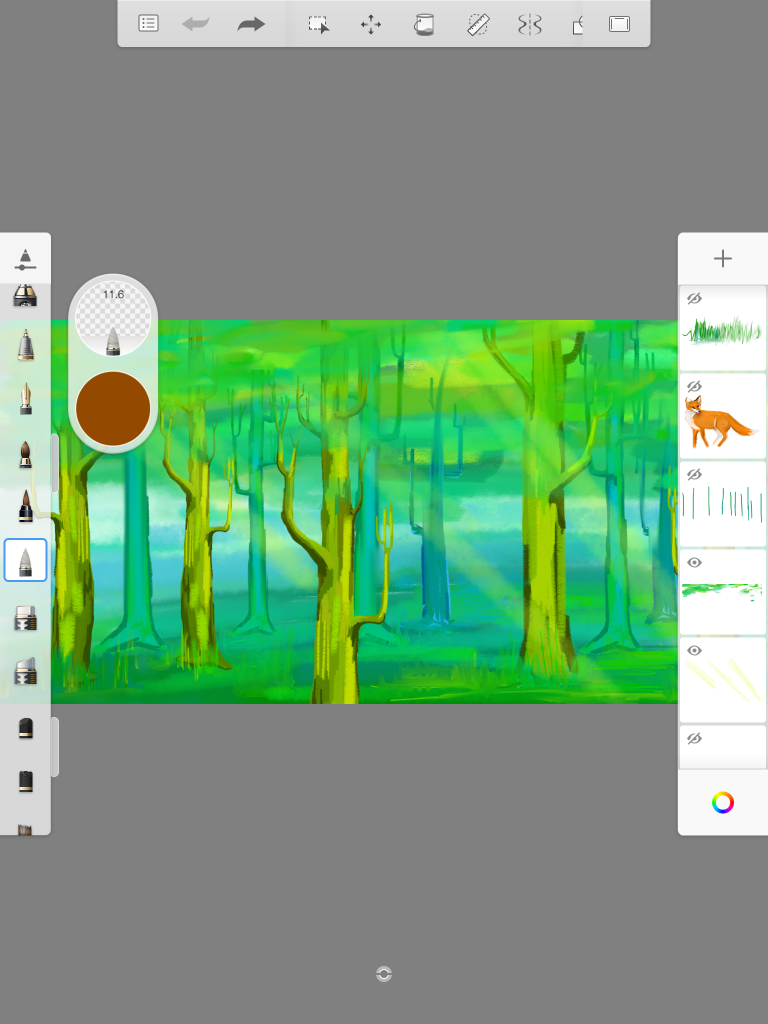
So you’ve designed an awesome character but are struggling with the background here’s a few tips on how to create a forest background. 

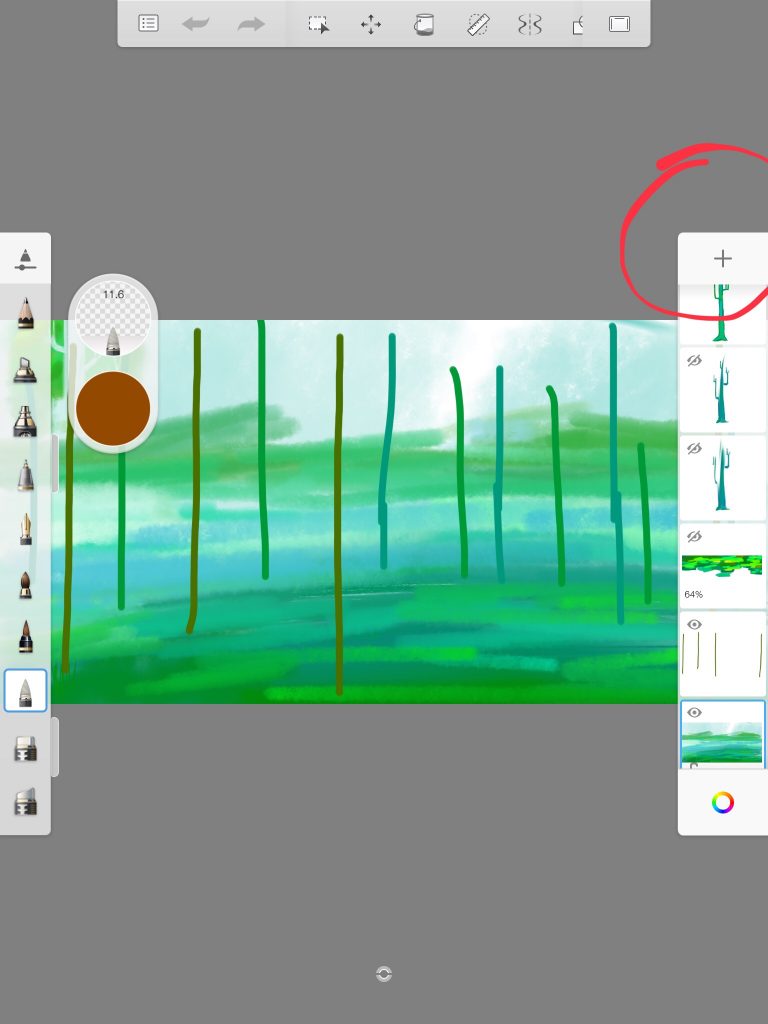
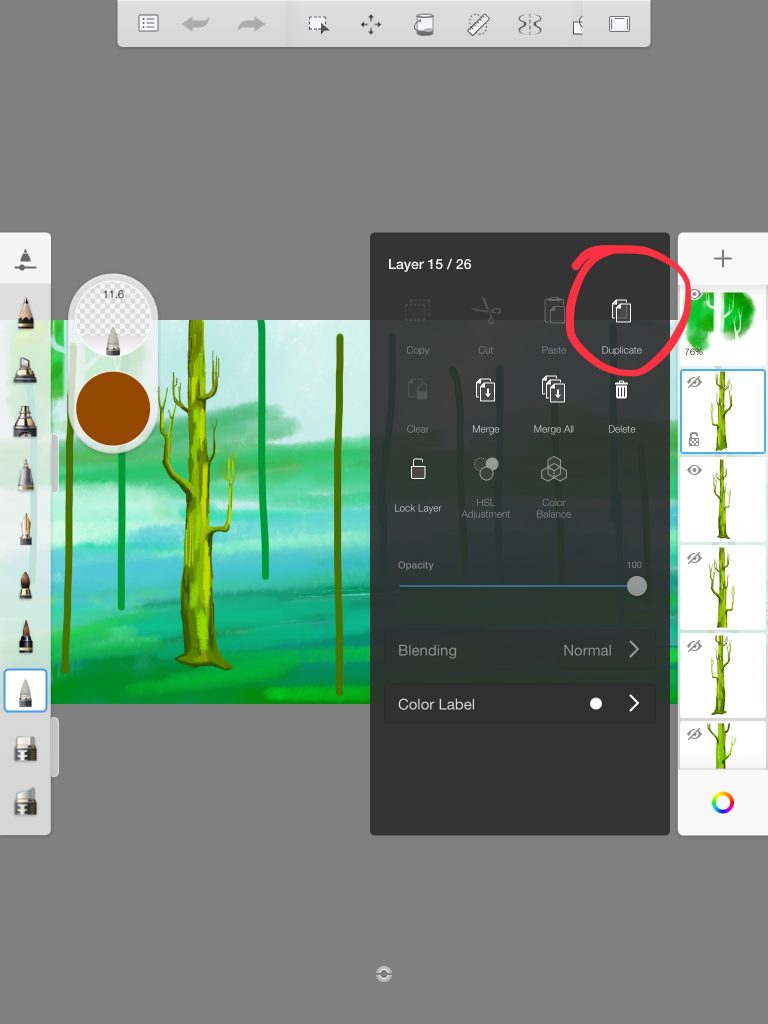
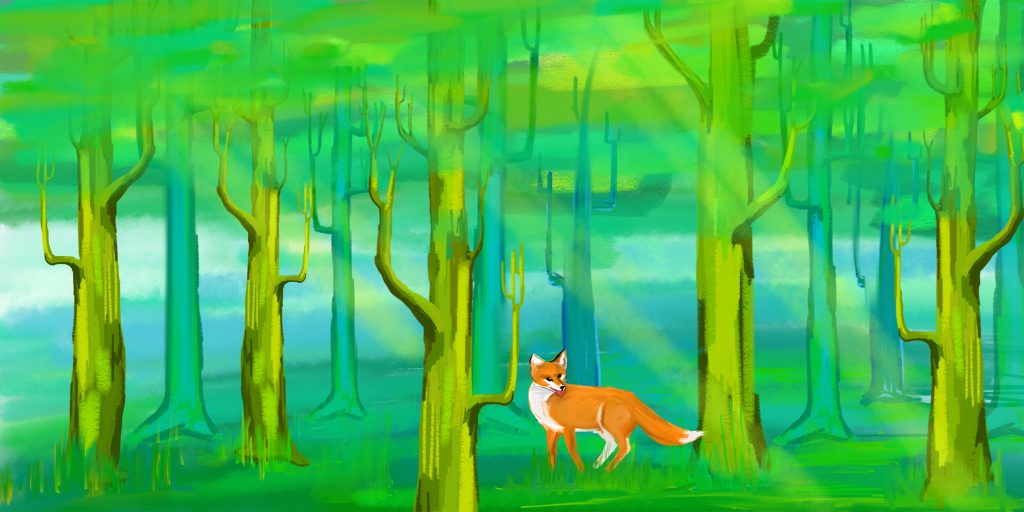
I used a maglus stylus, autodesk sketch app and an ipad to create this forest background for my fox. It can be hard to display depth in a flat image

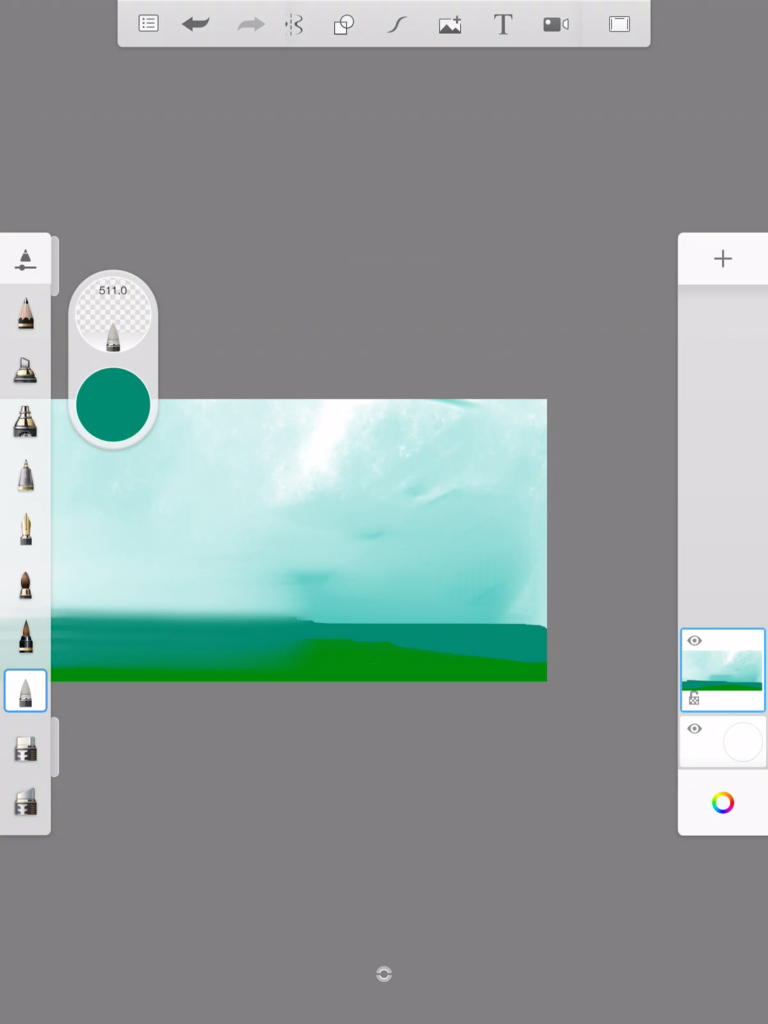
First create new sketch. Because we’re focusing in the landscape it helps to create a background that is wider than it is tall. For this example my sketch is 4000 x 2000 pixels[huge_it_share]

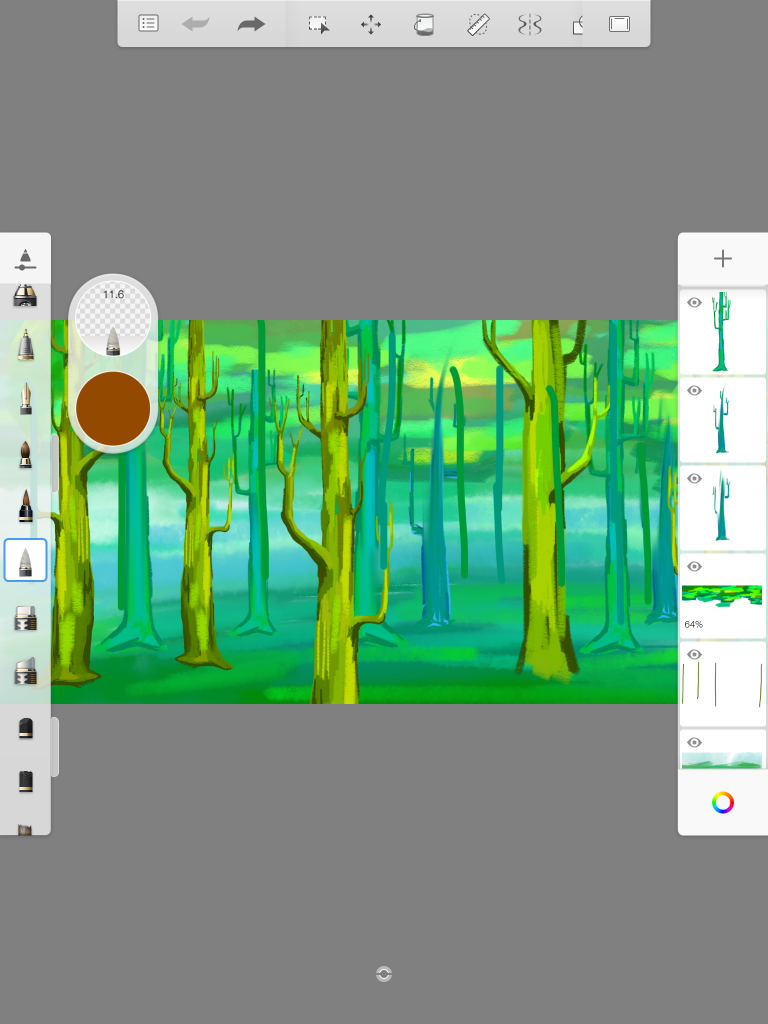
Start off by creating a gradient background. For  this i used a blue wash using the charcoal tool and then went over it with the pen tool to create the ground. I then blended them together. I filled in a gentle gradient. I used warmer colours to the front for the ground and cooler colours to the back to give the background some depth.

I then created a new layer (by tapping on the plus symbol in the panel on the right hand side). Then began drawing vertical lines to indicate where I want my trees to be. I used different colours to represent how close or far away I wanted the trees to be brown=foreground, turquoise=background and green=in between foreground and background.

I then drew a tree with the pen tool. I began by roughly marking out where each branch is. I then roughly drawing the darker areas of the tree with a brown colour.

I then added texture to the tree by going over the lighter areas with the charcoal brush.

Once I was happy with the tree I then duplicated the layer. Then using the move tool i moved the duplicate tree to where i marked out with the vertical lines. You can also flip the duplicate layer horizontally to make the trees look different to one another. Repeat this process until you’ve

I then created a new layer and drew trees that are bluer than the trees in the foreground. (I find it helpful to hide the other layers when i’m drawing in a new layer by clicking on the eye icons in the panel on the right). These will be my mid and background trees. I Then used the duplicate and move technique used with the other trees placing them over the vertical guide lines. (I then rearranged my layers so the foreground trees layers were above the background tree layers).

I then created a new layer behind all the tree layers for the leaves of the trees. I filled it in with blobs of yellow green and turquoise.

I then created a new layer on the top of all the other layers this will add extra details like leaves covering parts of the trees. Rays of light and dark spots really add to the final drawing.

This is the final outcome. We would love to know what you think let us know on twitter @applydea , facebook@MaglusForIpad or comment on the blog post if you want us to make a tutorial on anything specific just let us know.