You don’t need a load of fancy equipment to make great digital portraits. For this project I used a maglus stylus, an ipad mini and the autodesk sketch app.
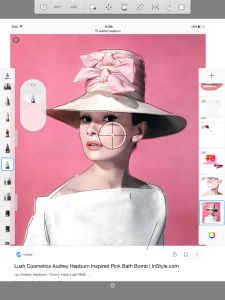
The first thing I did was gather reference material. I usually just to go google images and screenshot the images I want to use (by pressing the power button and the home button on the ipad at the same time). For this tutorial I used a photo of Audrey Hepburn.
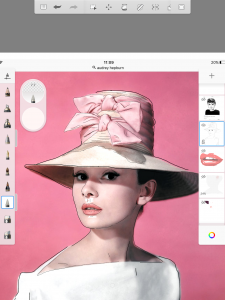
I then opened my autodesk sketch app. Created a new sketch. In the top panel on the app there is an image option i clicked this and added my screenshot into my composition.
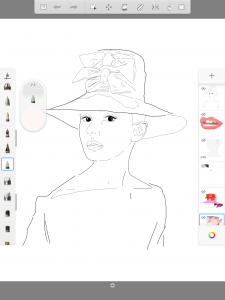
I created a new layer by clicking the plus in the top of the right hand panel. I then began tracing my image in the new layer. This is the finished traced layer looked like. You can reveal this by hiding your layer with the screenshot (by clicking the eye icon in the top left hand side of the layer in the panel on the right).
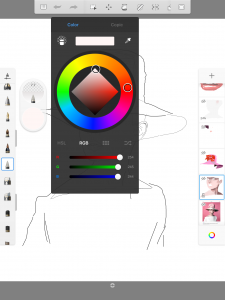
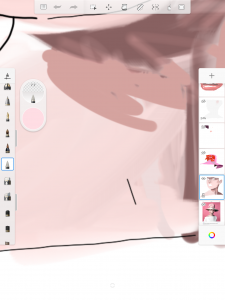
I then created a new layer (by clicking the plus at the top of the panel on the right hand side). This is my colour layer. I began to colour in blocking out the lighter and darker areas. If you are struggling to find the correct skin colours, unhide the layer with your screenshot in it and then click the coloured circle below your brush tool. You should then see a colour wheel appear. Click on the dropper tool in the top right hand corner and then drag the target to where you want to copy the colour from. (this is also handy for when you want to get a colour you were using earlier in your painting). Click back on to your colour layer and begin to colour in.
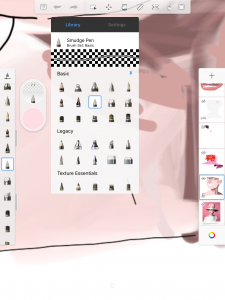
Once you’ve finished colouring in you’ll notice it might look a little blotchy. Then select the smudge tool and begin to carefully blend your skin tones. Be careful not to over blend this can flatten the image.
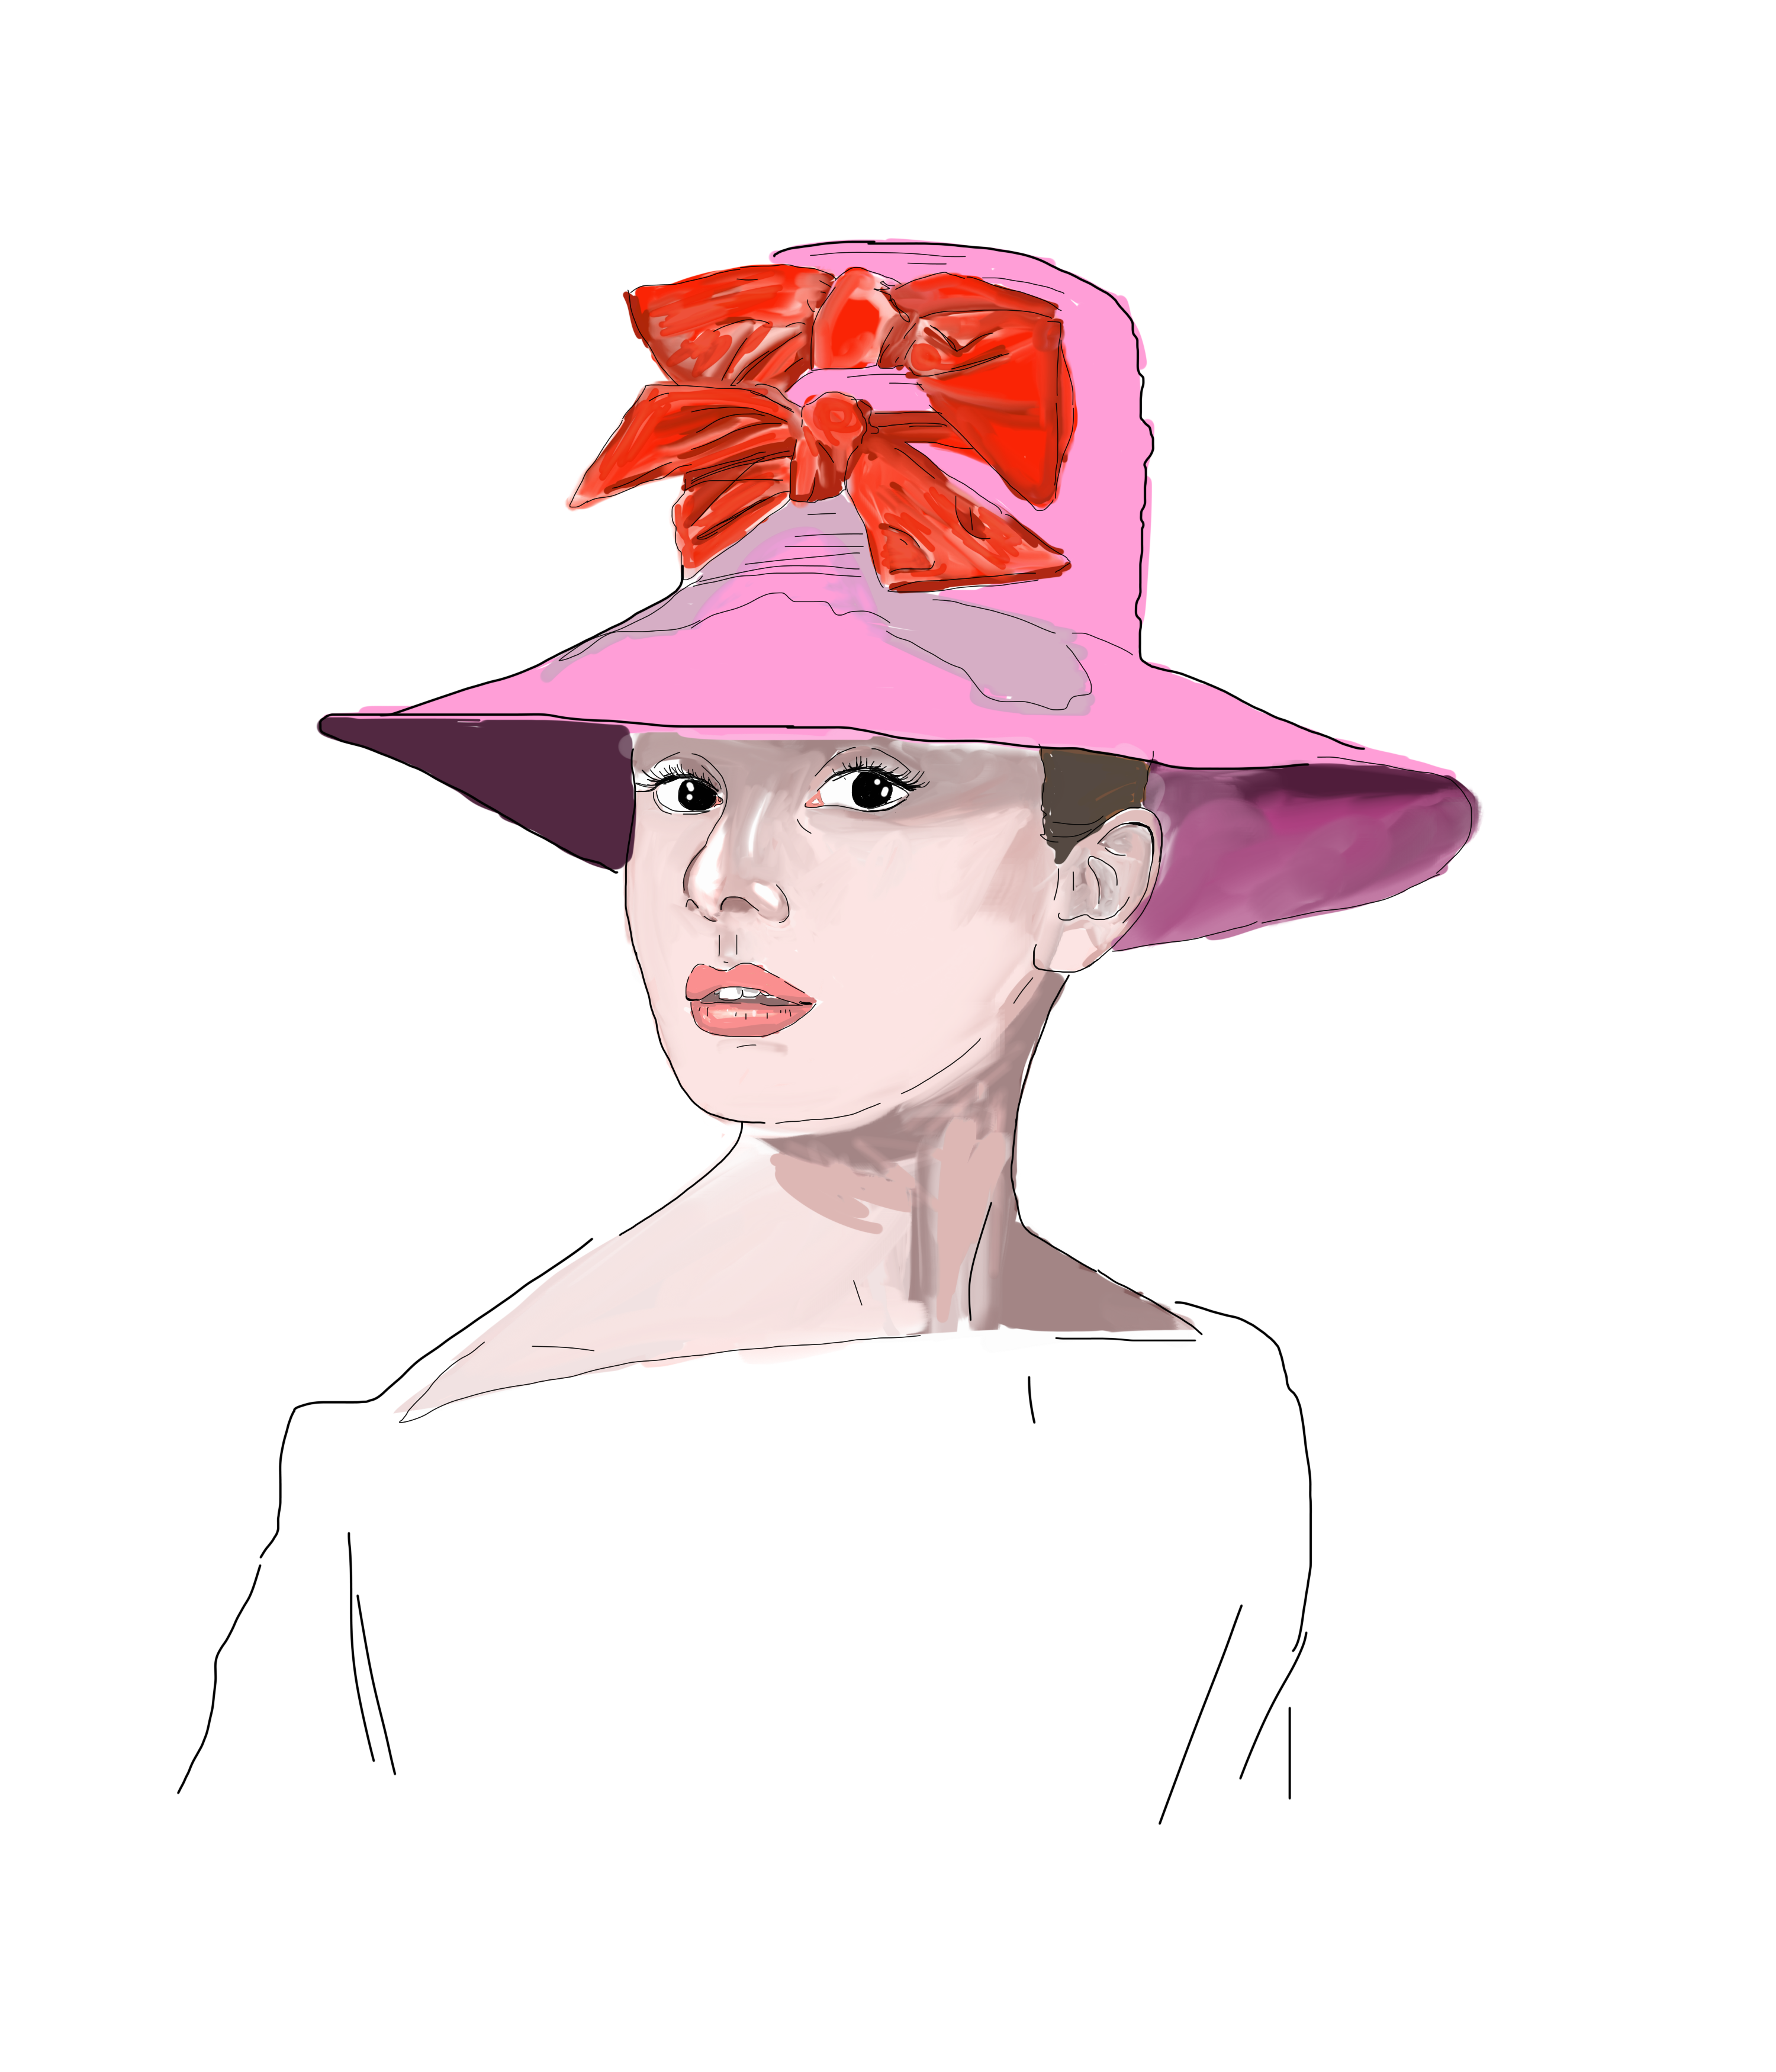
Heres a pic of the finished product.



 LEAVE A COMMENT